Fools rush in…
A friend had a quilted jacket that I coveted quite badly. I’d also seen many, many beautiful examples in the catwalk shows of the season.
So I foolishly thought I’d attempt to make my own.
Please continue for a pretty dry run through of how I made it. Apologies.
Step 1: choose a pattern
This was not the time to wing it or make a pattern from something that I own, like I usually do. I needed actual paper pieces. I used Butterick 7637. I copied the pattern pieces onto fairly heavy tracing paper as I knew I was going to stitch through them and didn’t want to wreck the original pattern. Also, I needed to draw out my designs onto the pieces so they had to be blank. I added patch pockets of my own shape and made a pattern piece for the collar which would otherwise have been made from ribbing.
Step 2: which fabric?
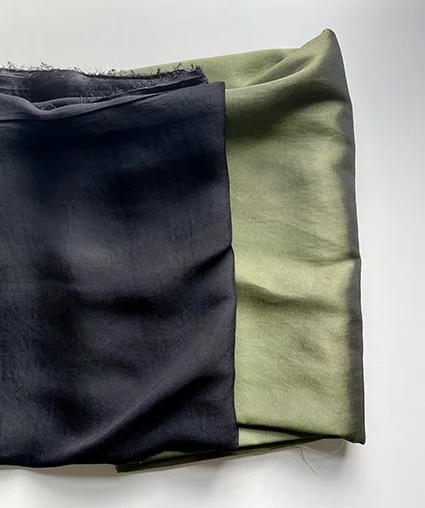
I chose a washed silk-style viscose in black for the outer and a slightly two-tone khaki for the lining, sandwiching some polyester wadding between them. I roughly basted the layers together with very large stitches across the width.
Step 3: design the quilting lines for the front, back, sleeves and pockets.
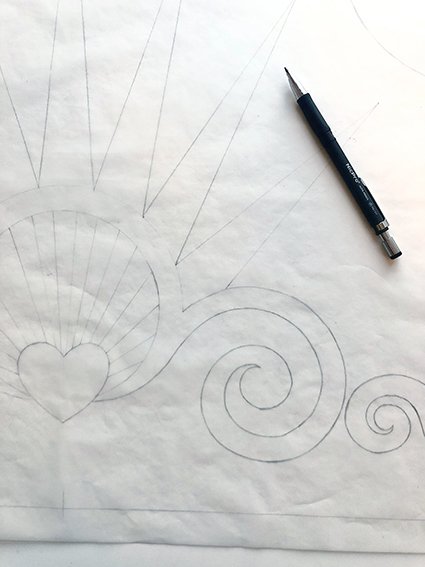
I knew I wanted a combination of organic shapes and geometric lines. I started to sketch out some ideas, then when I was close, I mapped out the design onto my trace pattern pieces. I needed two identical sleeves, back, collar and right and left front and pocket pieces.
Step 4: cutting out
I pinned the pieces to my sandwiched fabric and cut them out roughly an inch larger all the way round. I wanted to account for any shrinkage in the fabric dimensions once the quilting was complete.
ASIDE. It was at this point that I decided I wanted the jacket to be reversible so I could wear it either way. Because the whole thing wasn’t tricksy enough, apparently.
Step 5: stitching the quilted design
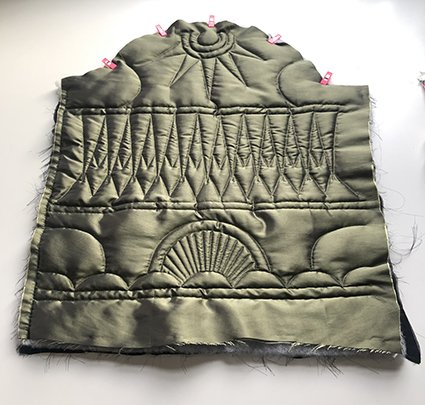
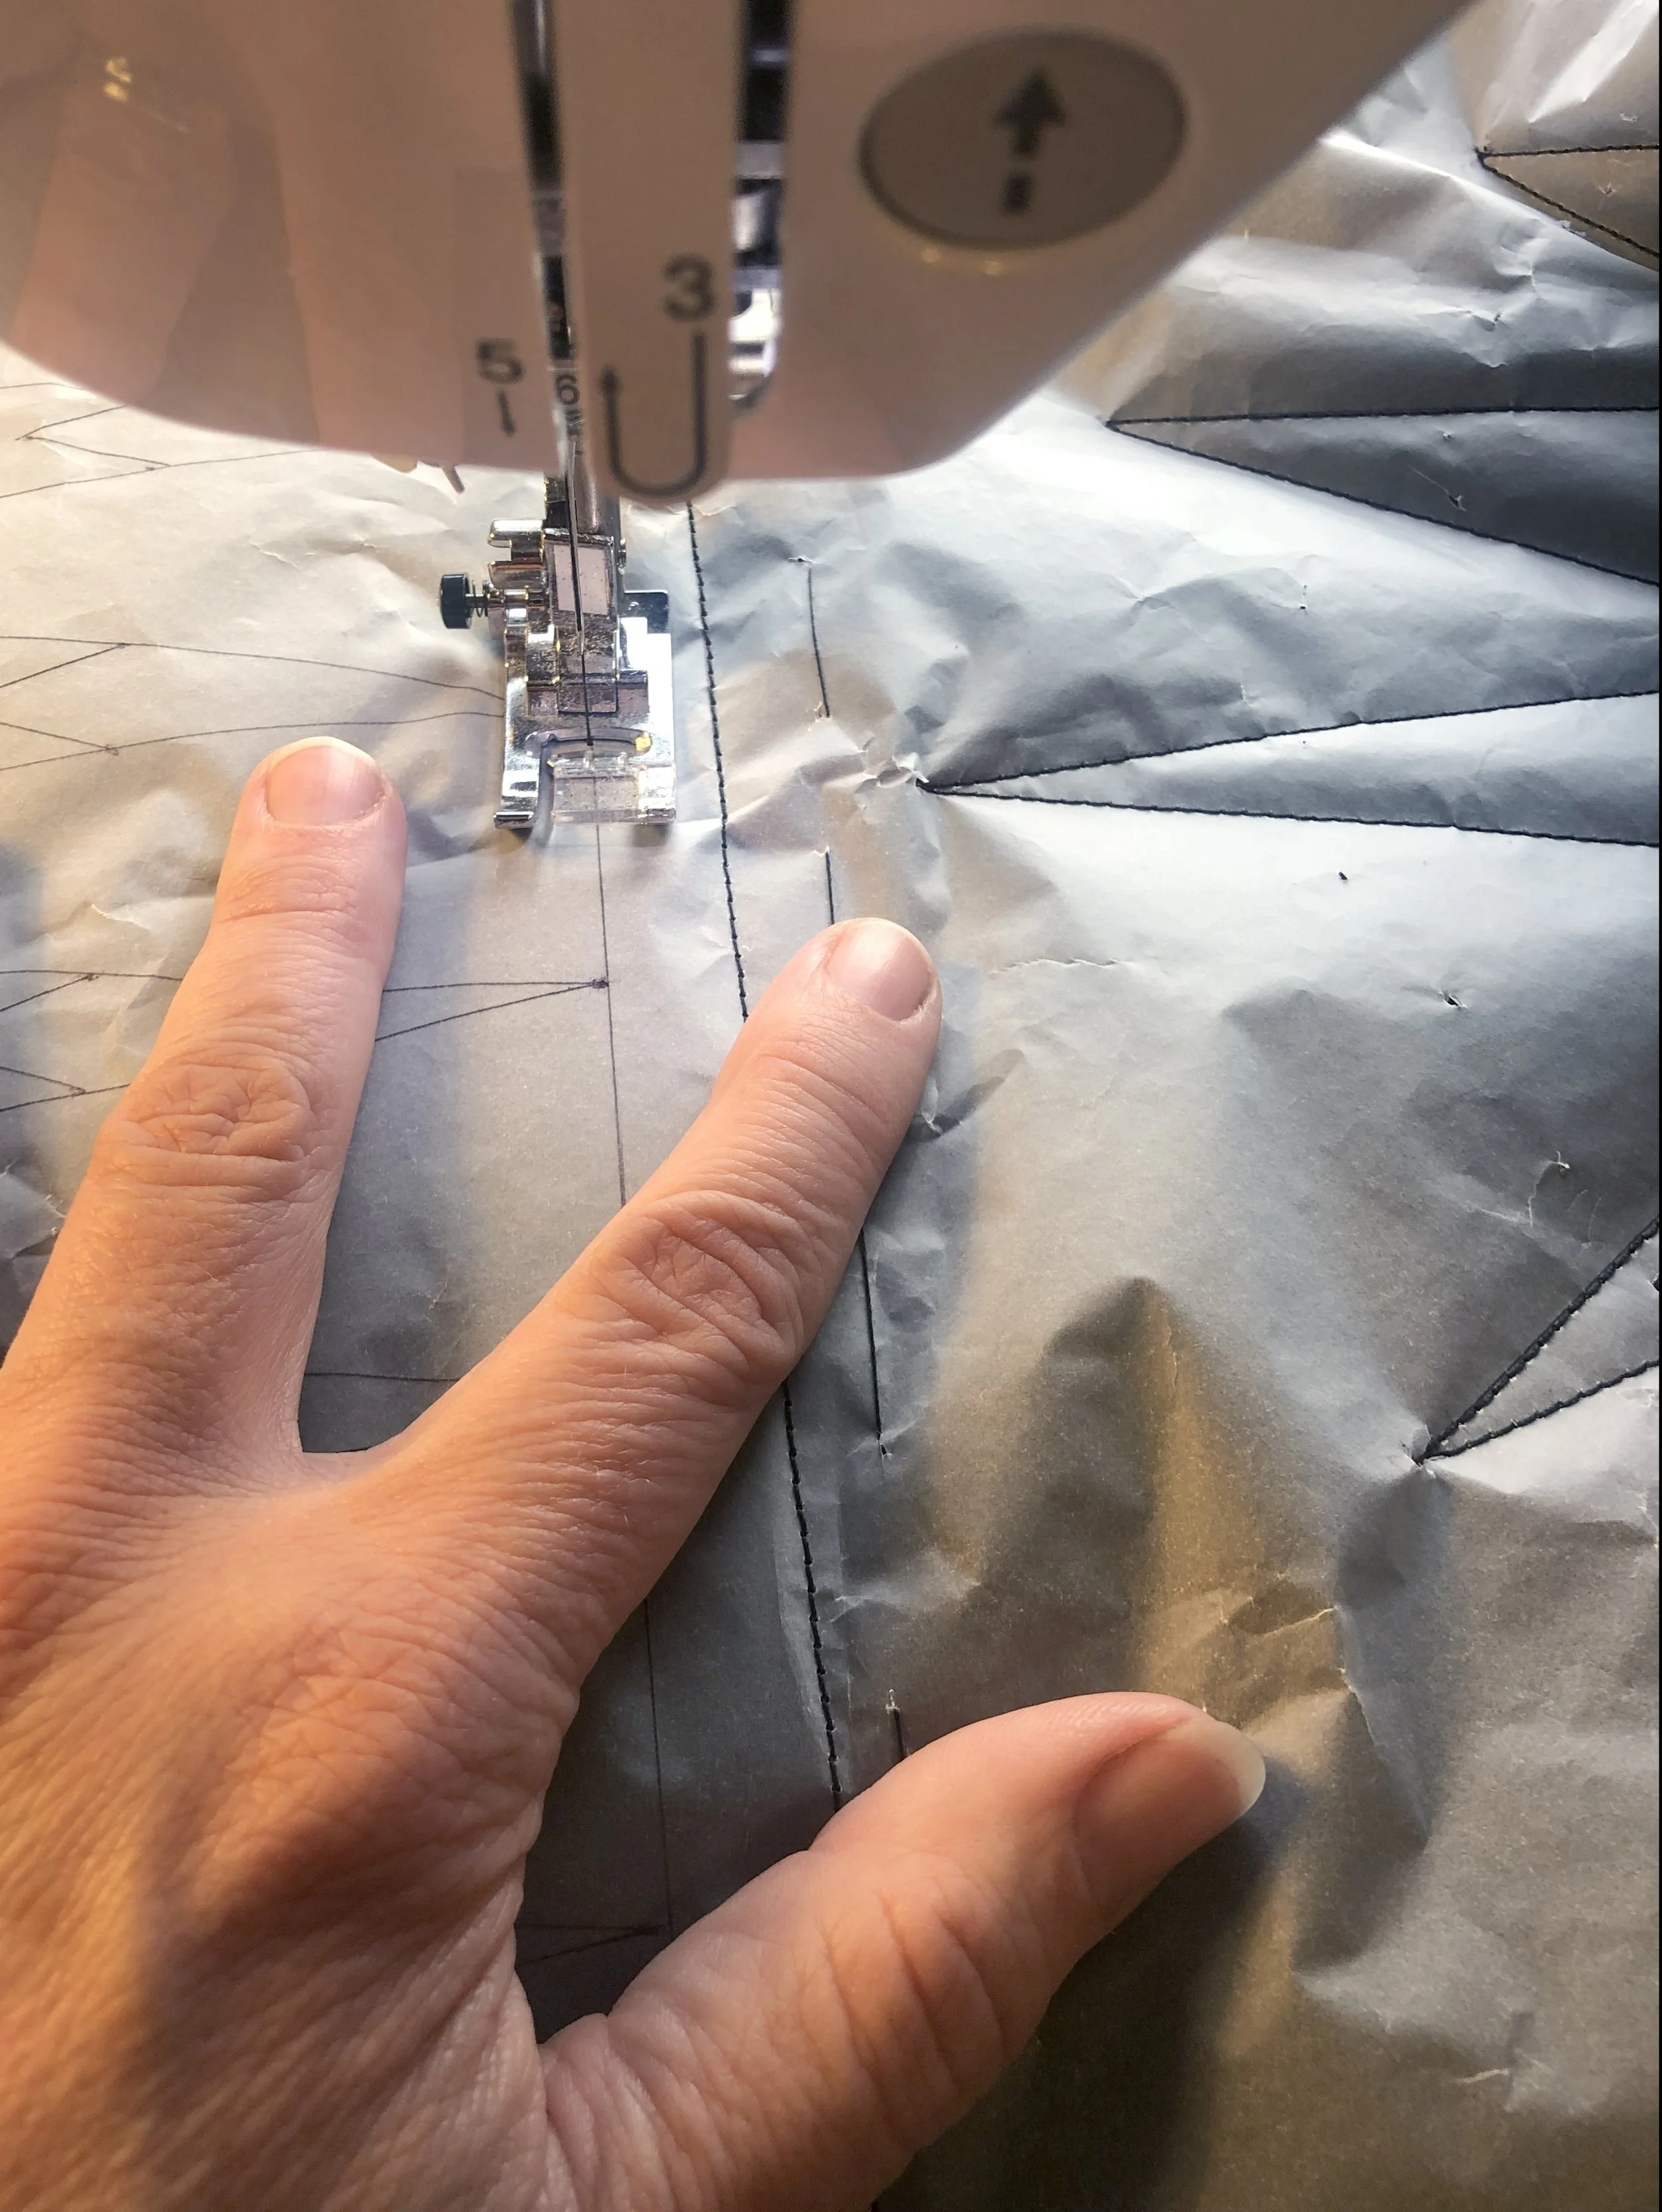
I stitched the design through all four layers - trace, outer, wadding and inner. I tried to work from one edge across to the other so I could keep the layers of fabric at the same tension.
Step 6: removing the trace, AKA The Best Bit
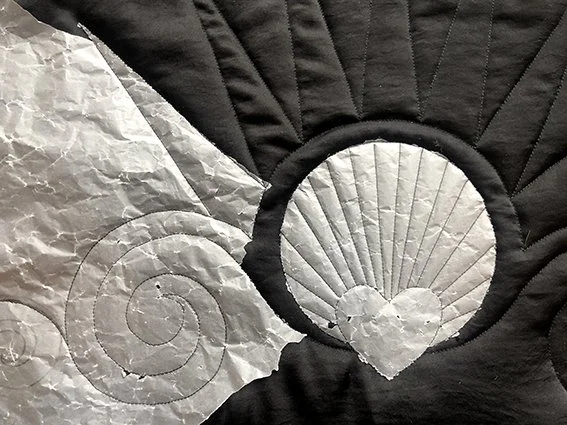
This is so pleasing! The stitching effectively perforates the paper so tearing it off is easy and surprisingly satisfying. Some little bits got stuck which I removed with some tweezers.
Step 7: securing the threads
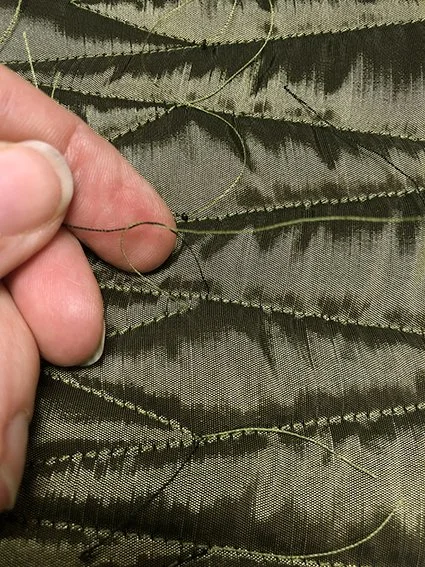
I left tails on all the thread ends, so they could be pulled through at the end point of each stitching line, tied off, and the ends stitched back between the fabric layers. There were a lot of these. A lot.
Step 8: re-cutting the pieces
I attached the original Butterick pattern and cut the pieces to precise size.
Step 9: assembling the jacket
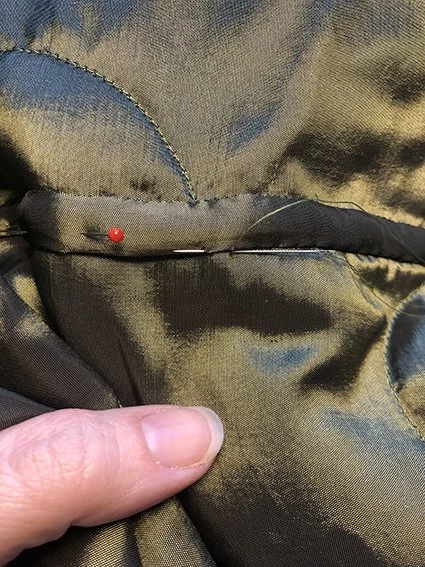
I put it together as per the pattern instructions and bound the seams on the lining with homemade binding. I left the sleeve ends and hem open instead of adding ribbing as I wanted a more open style.
Things I wish I’d known before I started...
• It’s hard to quilt using a standard presser foot. Especially on tight curves. I know I should have at least used a walking foot. But I did not.
• The outer fabric I chose was too loose a weave and the ends of the polyester wadding started to poke through the material. I only noticed this when I was in too deep to turn back. I’m still furious about it.

